Step 1 : Job preparation
First connect to the DataTask platform (https://apps.datatask.io/authentication/login), either with the couple user/password or via his google account (the one used for registration).
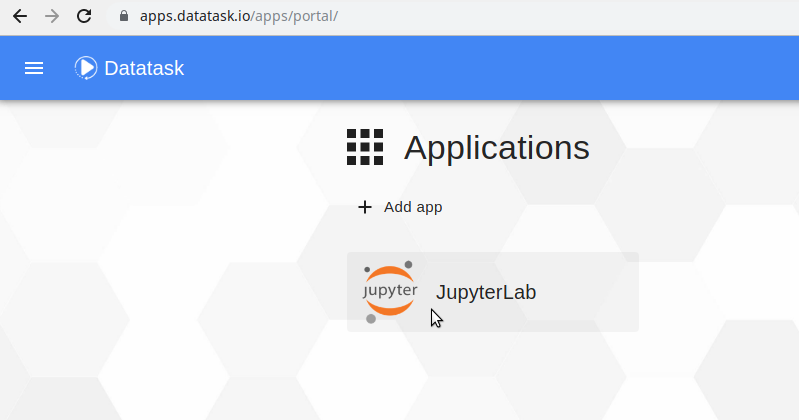
Once connected to the platform, we arrive at the portal giving access to the deployed applications. We can go to the JupyterLab by clicking on the corresponding icon.
Once in the JupyterLab we will proceed with the preparation of our project:
Clone the repo git http://apps.datatask.io/git/ORGANISATION_GIT/quickstart-data-tpch from the git module of JupyterLab.
| Replace ORGANIZATION_GIT with the name of your organization on git. |
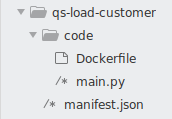
Via the file explorer, access the qs-load-customer folder contained in the quickstart-data-tpch folder. This folder contains a code that will load a dataset located in a GCP bucket in a BigQuery database.
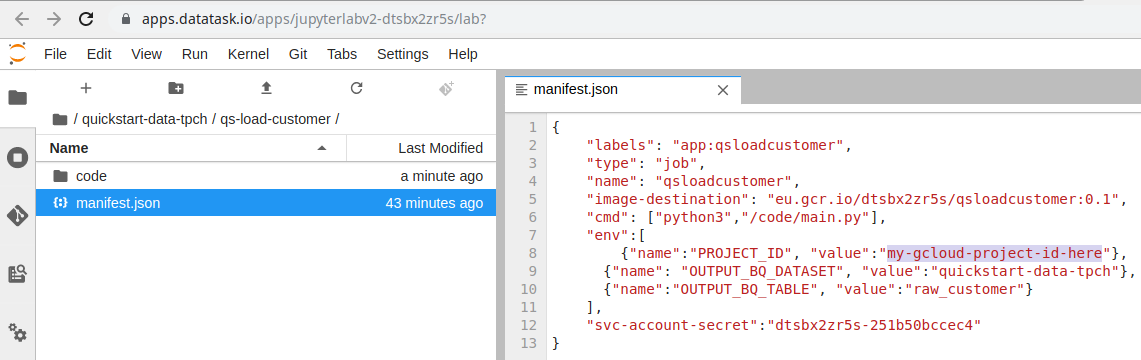
The structure of the folder, consisting of a manifest.json file at the root and a code folder that contains a Dockerfile and one or more files containing code (python in our case) is the one used by default by the tasks running on Datatask.
Open the manifest.json file (right click → Open With → Editor). This is the file that contains the job configuration. We will replace the environment variable PROJECT_ID value which is my-gcloud-project-id-here by the identifier of our GCP project so that the output of the processing arrives well in our BigQuery database.
Once this has been done, again with the JupyterLab git module, commit and push the modifications in order to update the repo git.