Step 2 : Deployment of the job
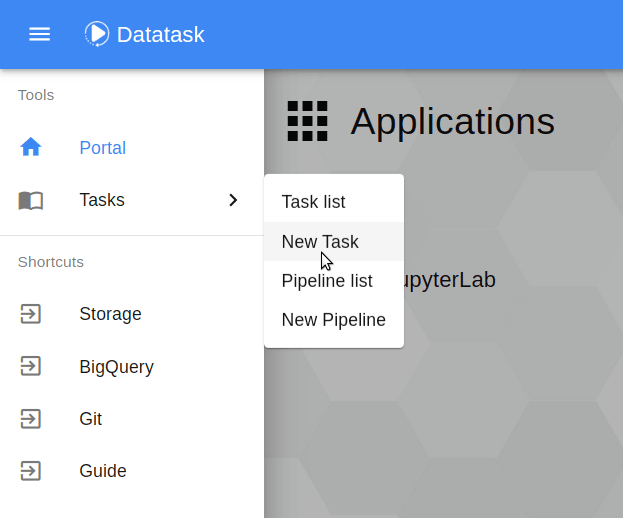
We will now deploy our job. On the DataTask home page, click on the menu icon at the top left and go to Tasks → New Task.
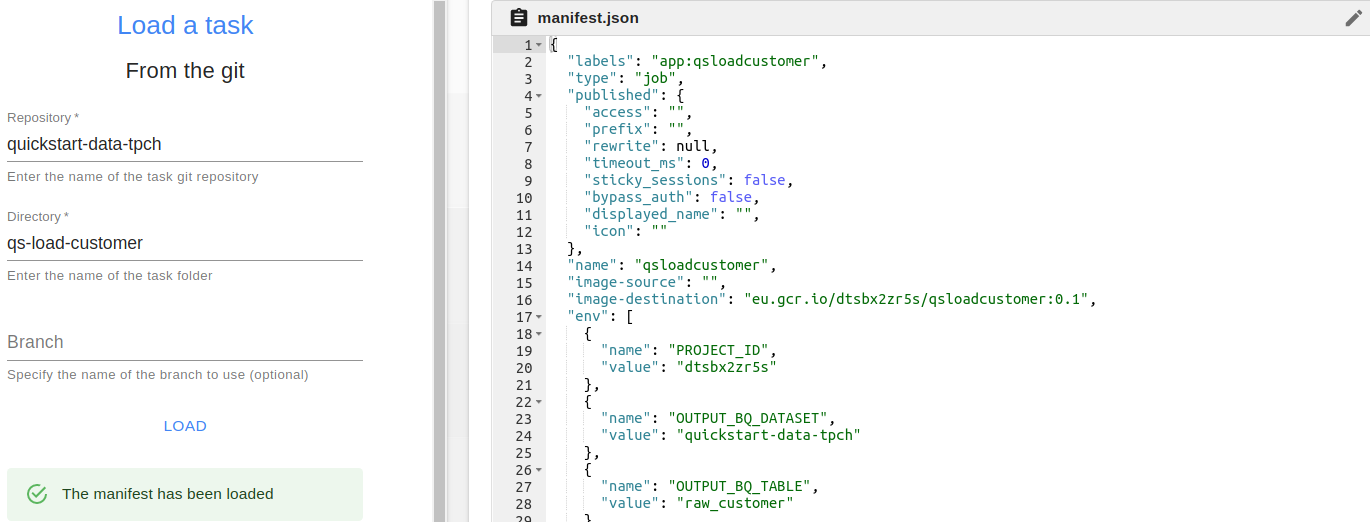
Once on the deployment page, the fields of the form are filled in with the following elements:
-
Repository: Name of the repo git, in our case it’s quickstart-data-tpch.
-
Directory : Name of the folder containing the task to execute, in our case it is qs-load-customer.
-
Branch: Name of the git branch to use (you can leave the field empty because the master branch will be used by default)
Once the fields are filled in, click on Load to load the job. The content of the manifest.json file is then displayed on the page. It is possible to modify it by clicking on the pen icon in the upper right corner of the editing area of the file (you must then click on the check mark to validate the changes).
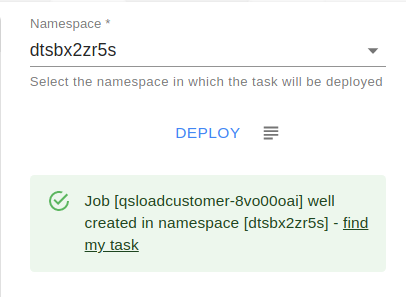
If all the information is correct, we select the namespace in which we want to perform our deployment, in our case it is dtsbx2zr5s. Finally, click on the DEPLOY button to deploy the job.